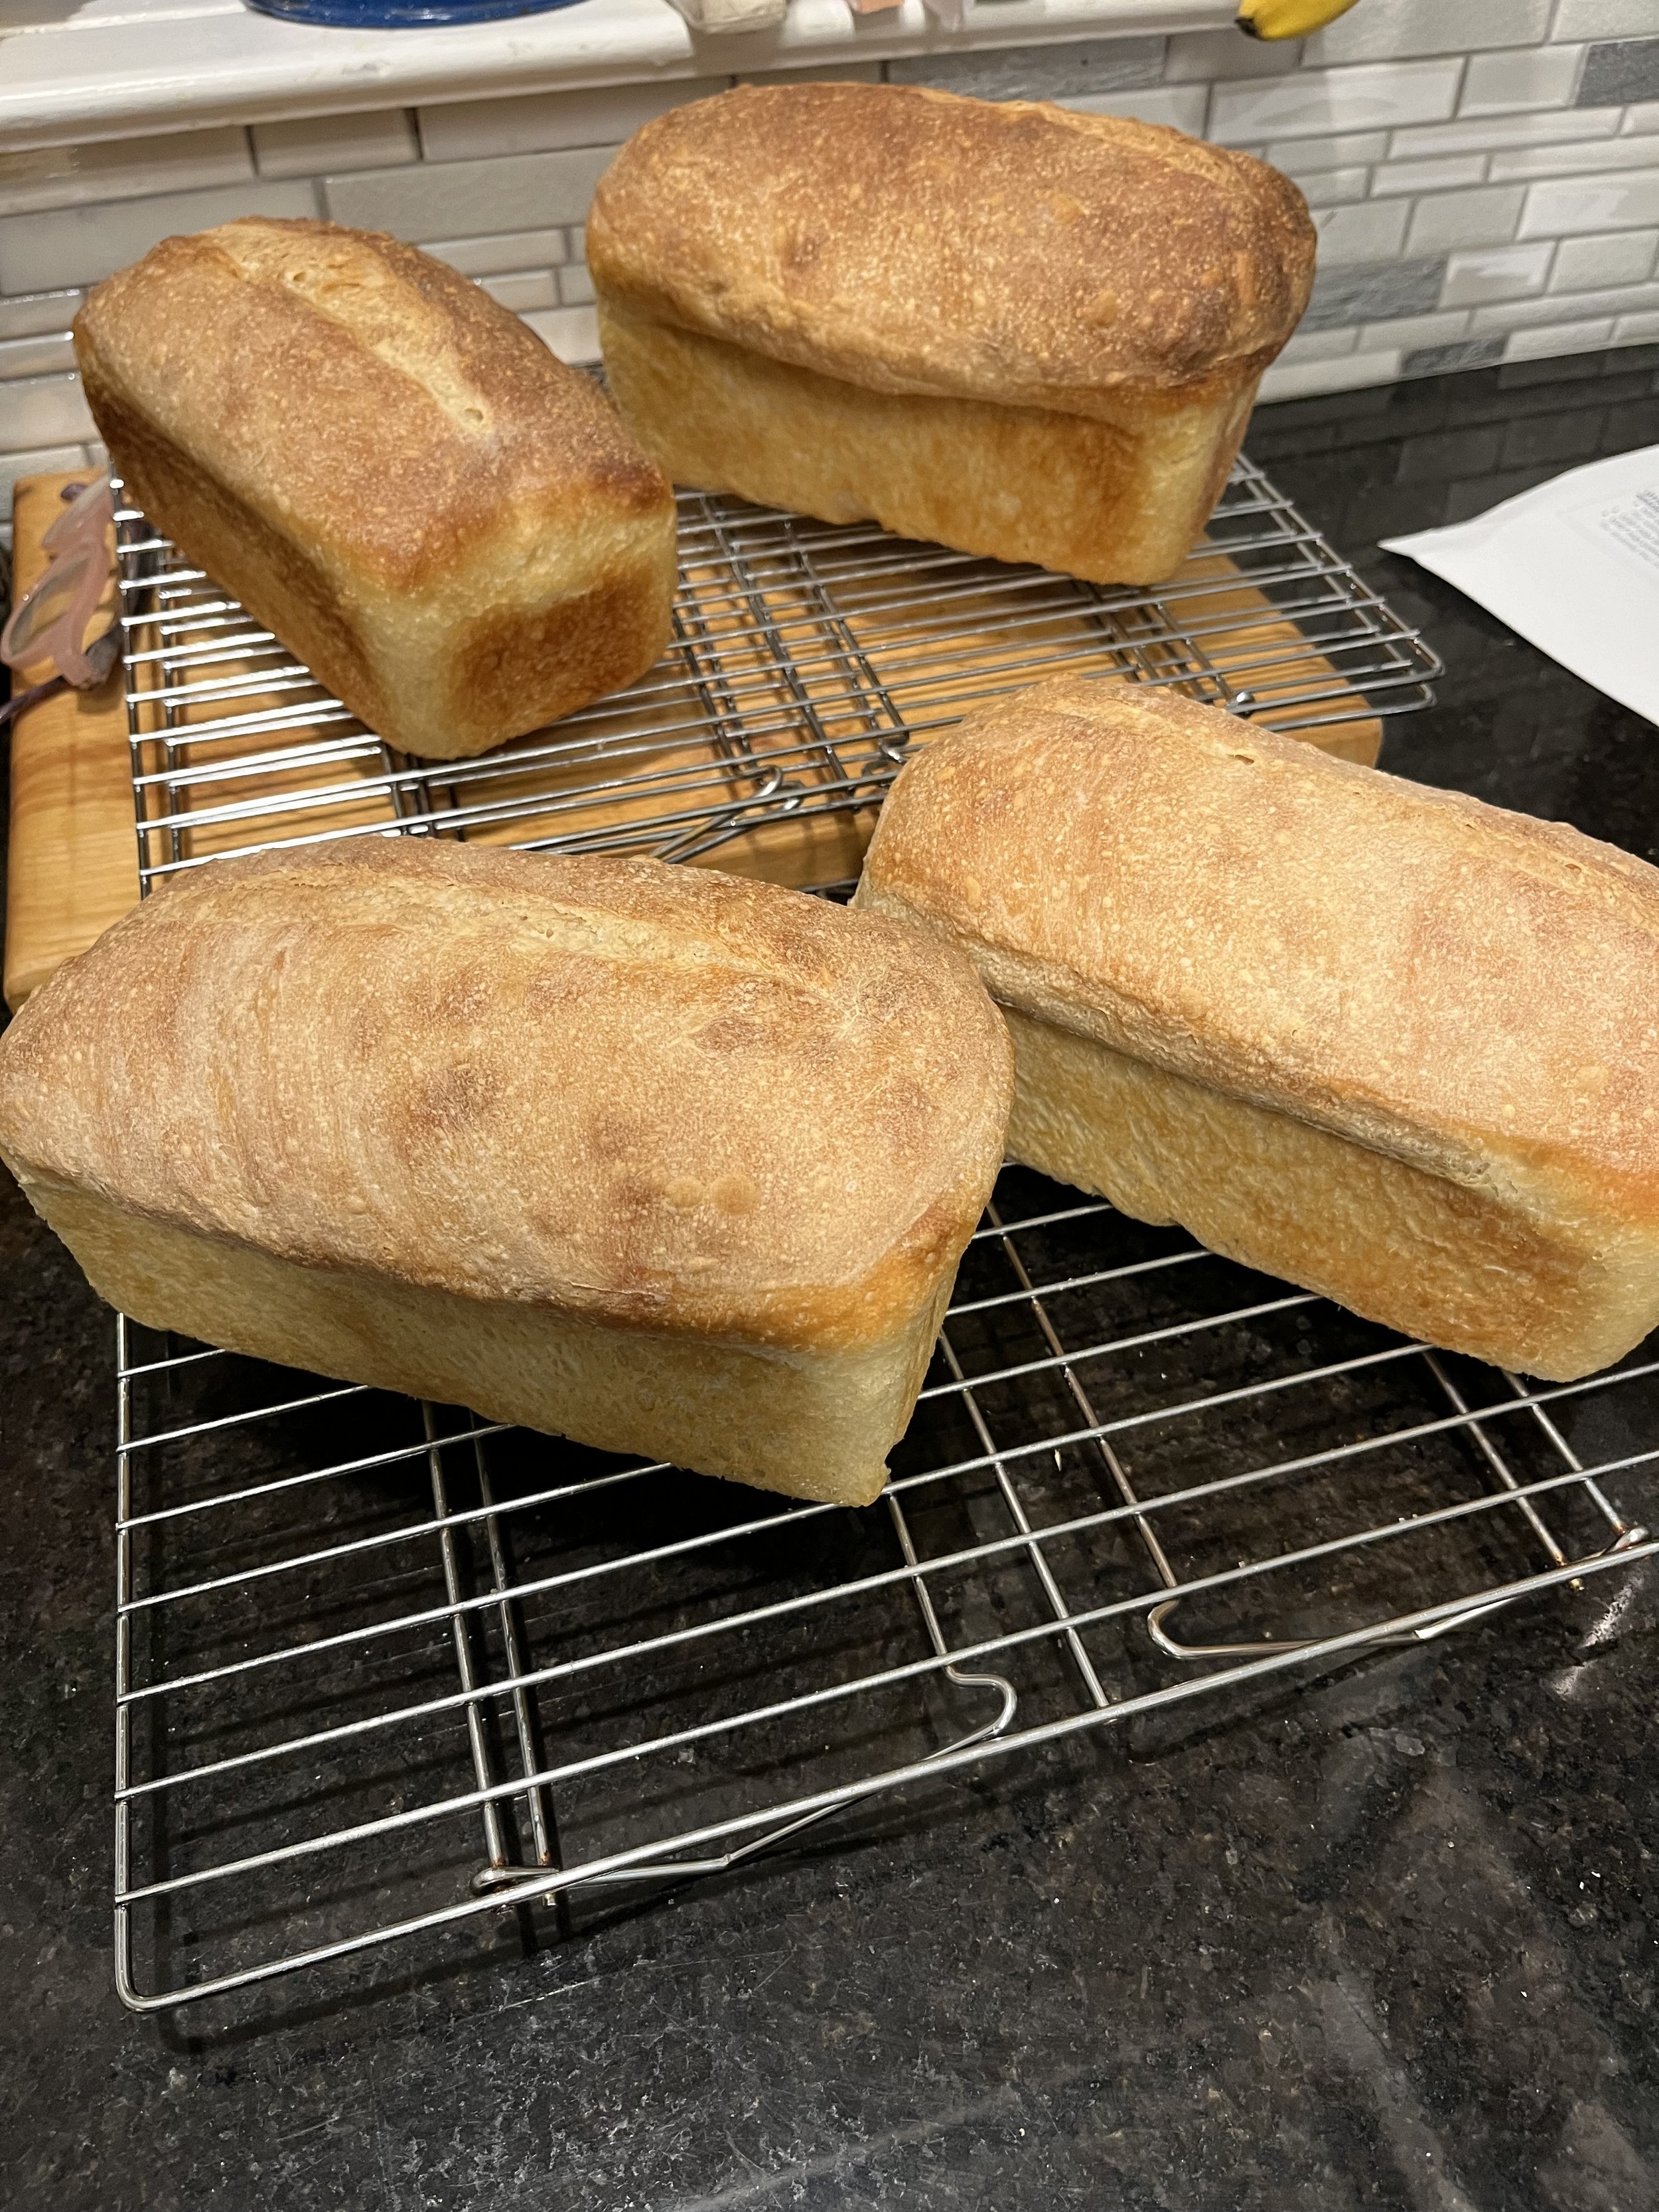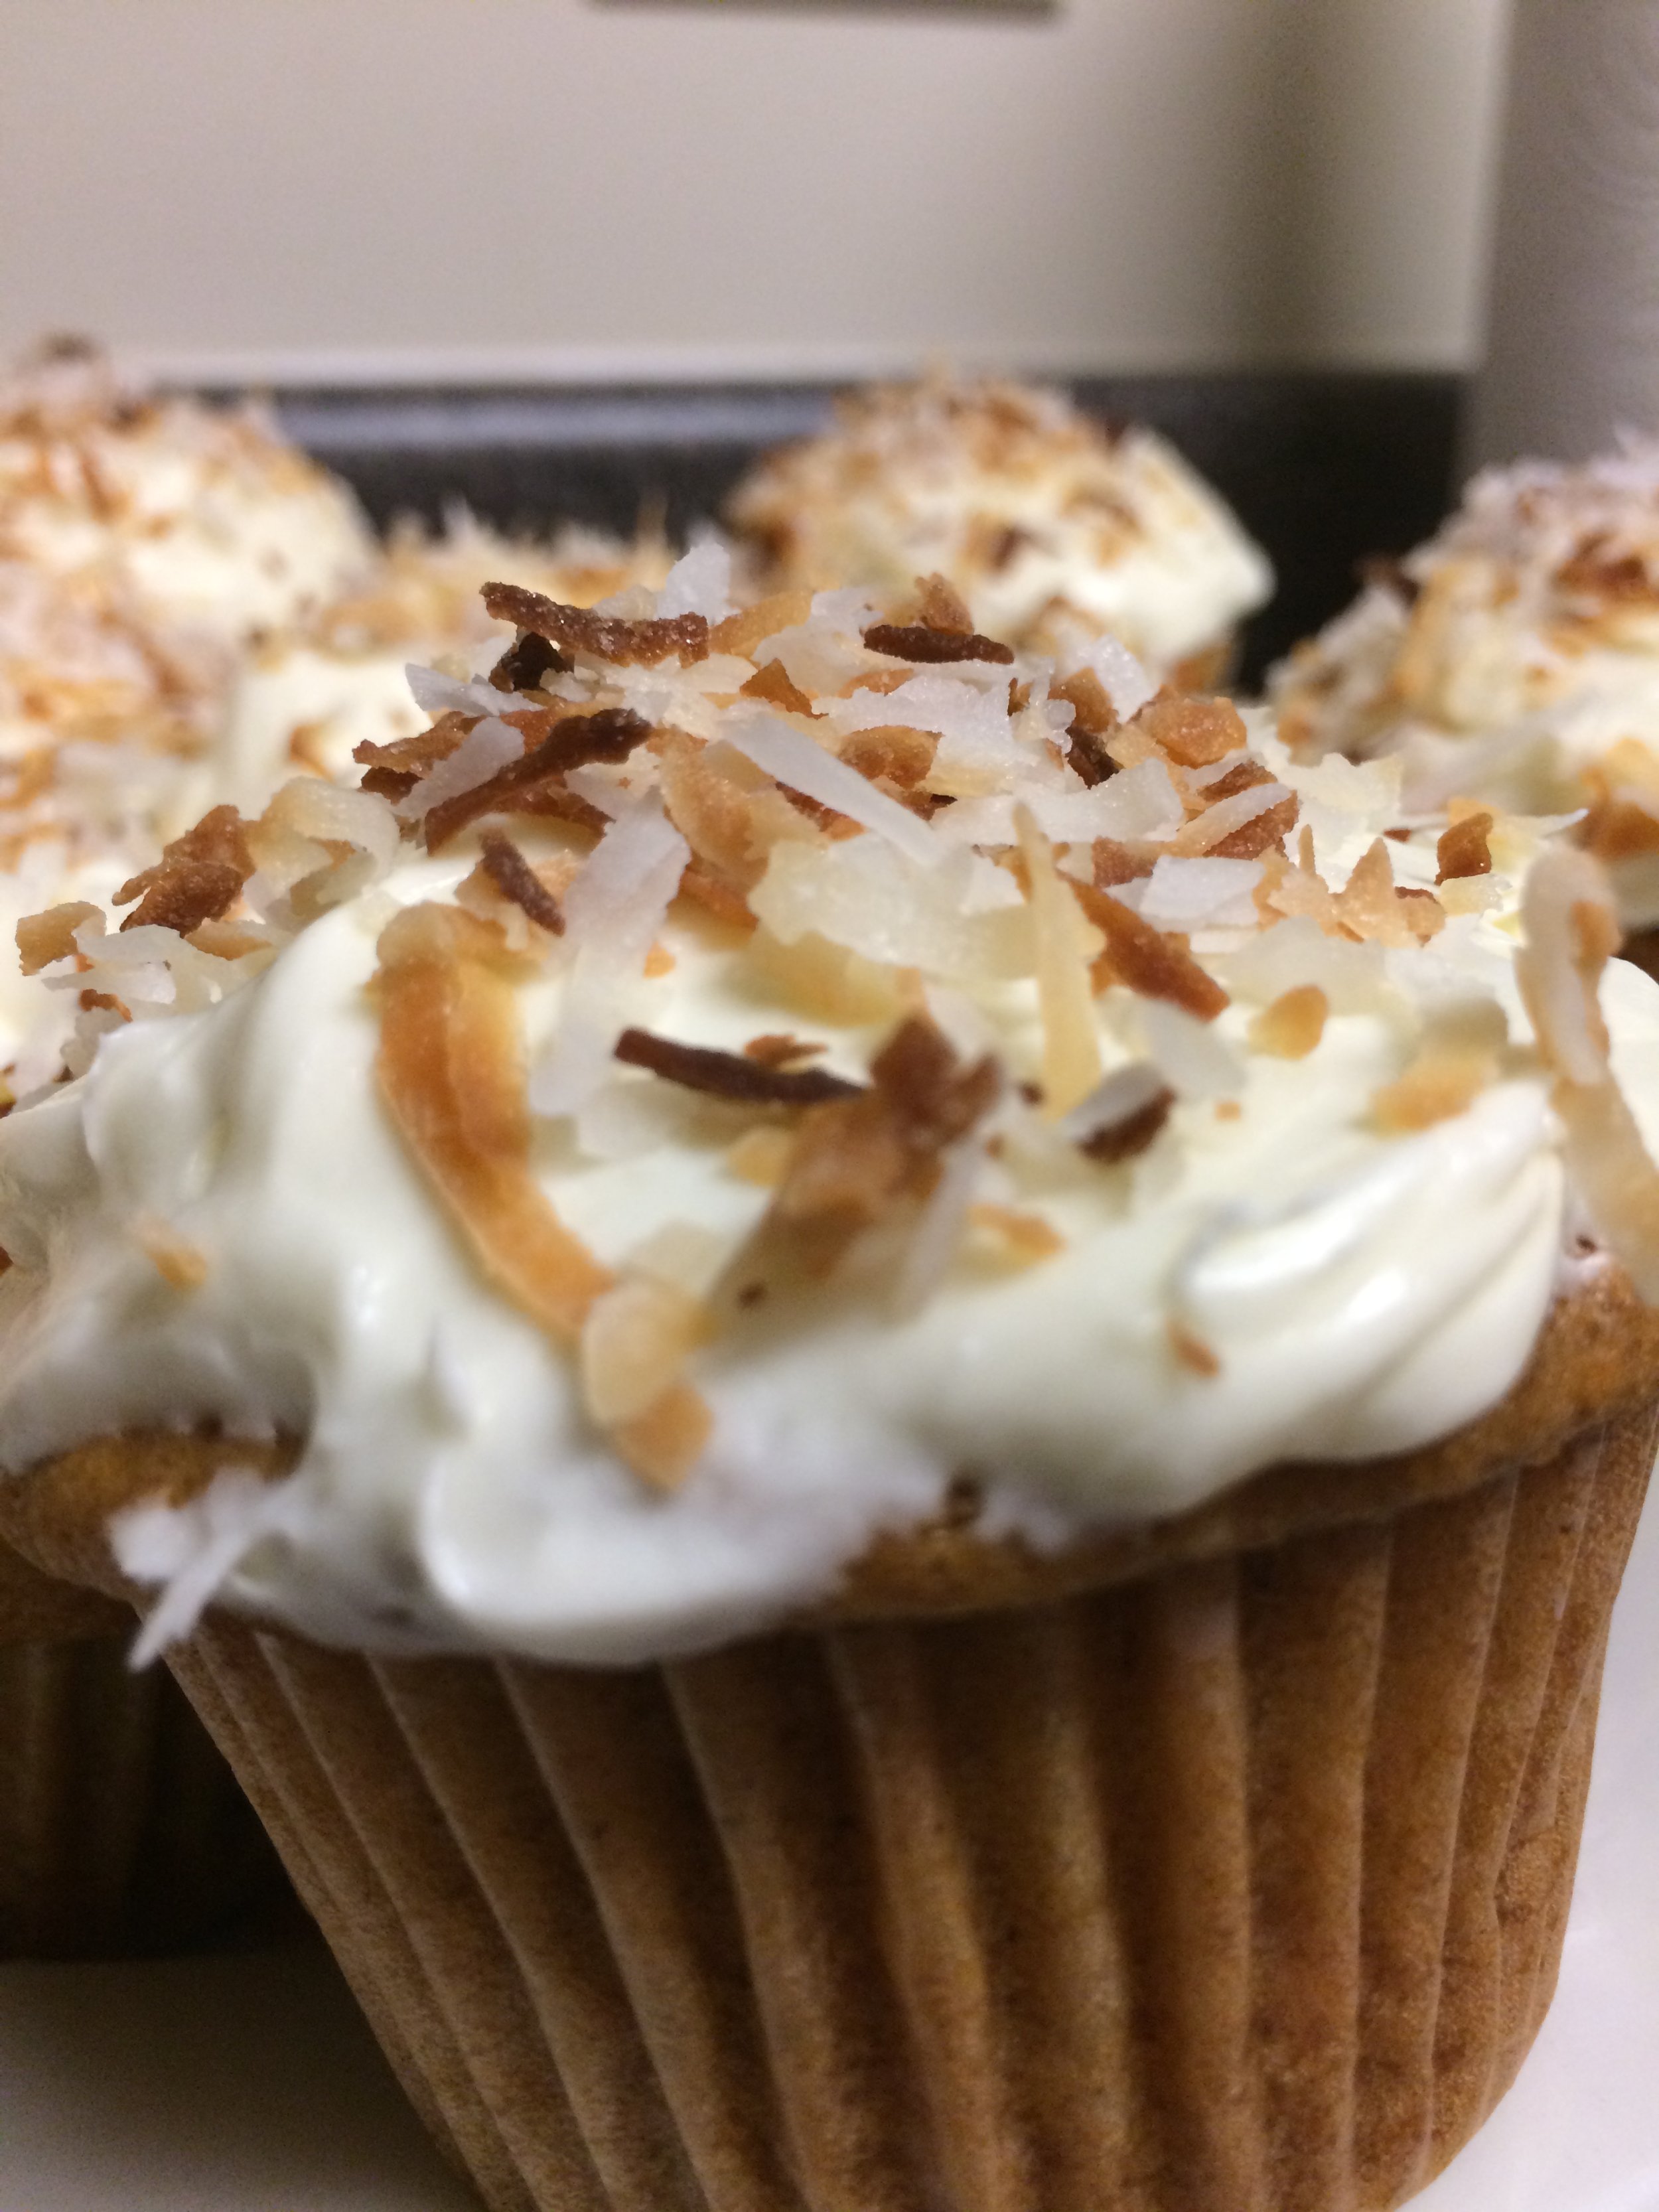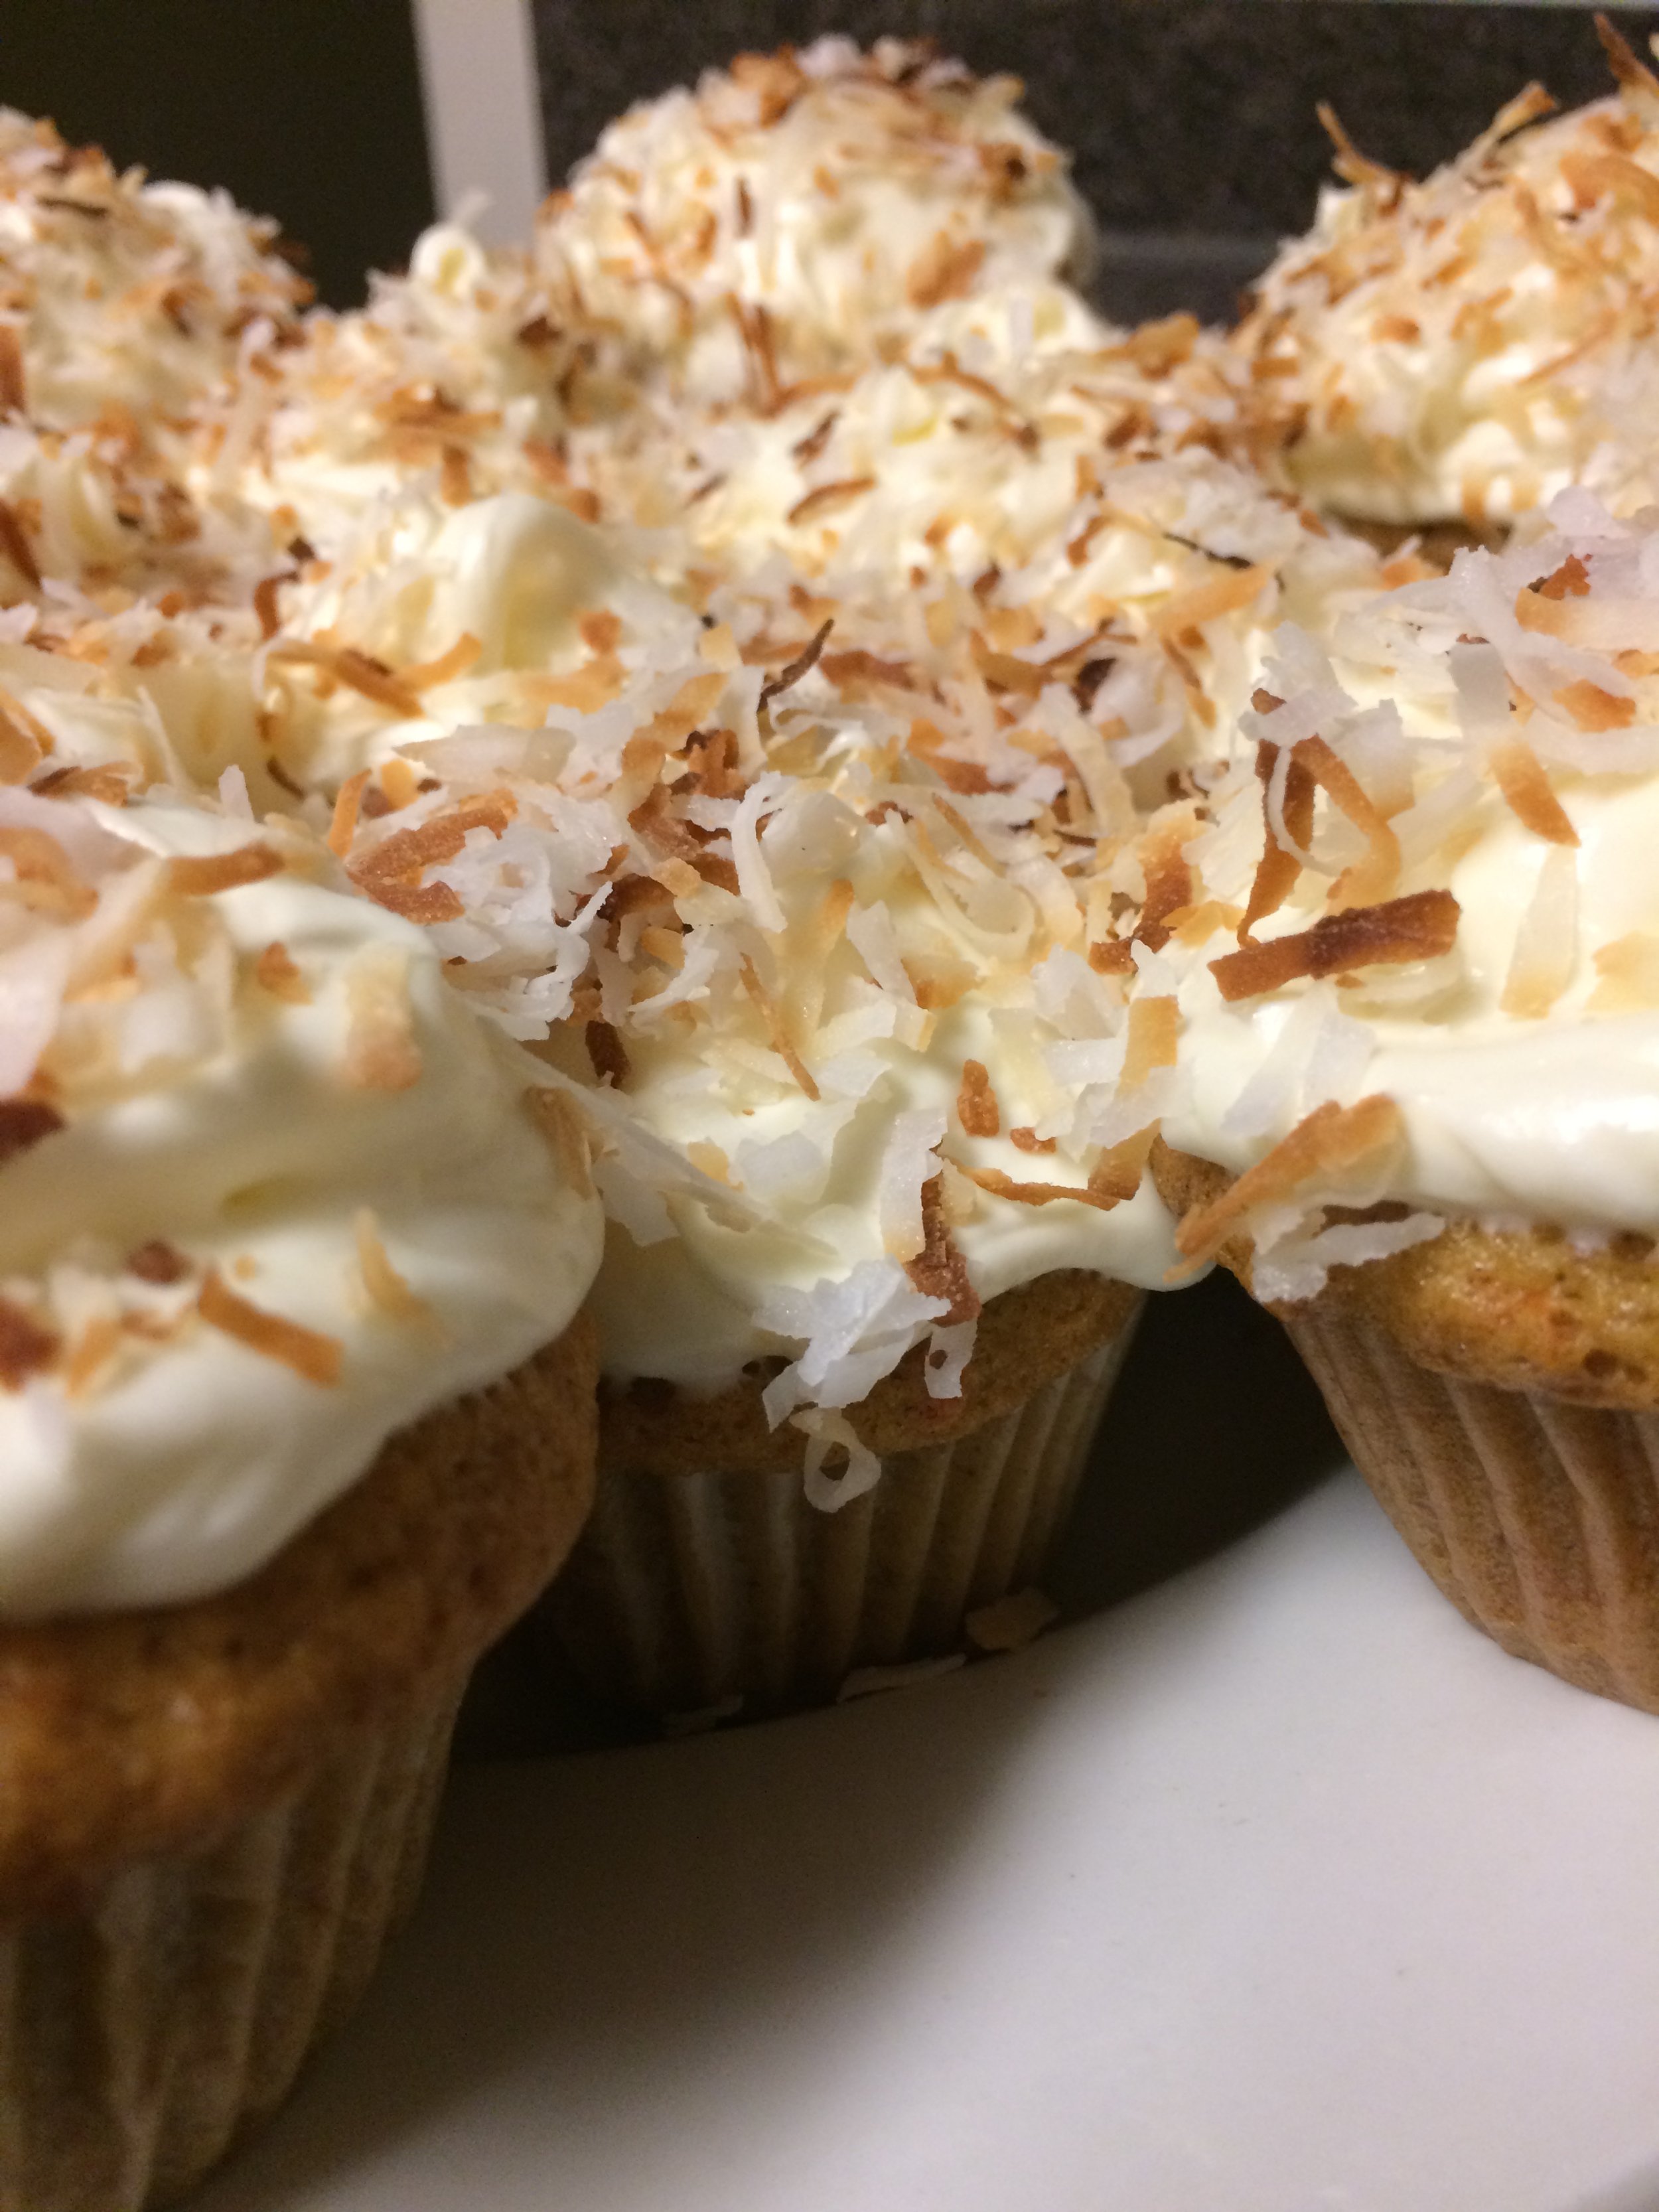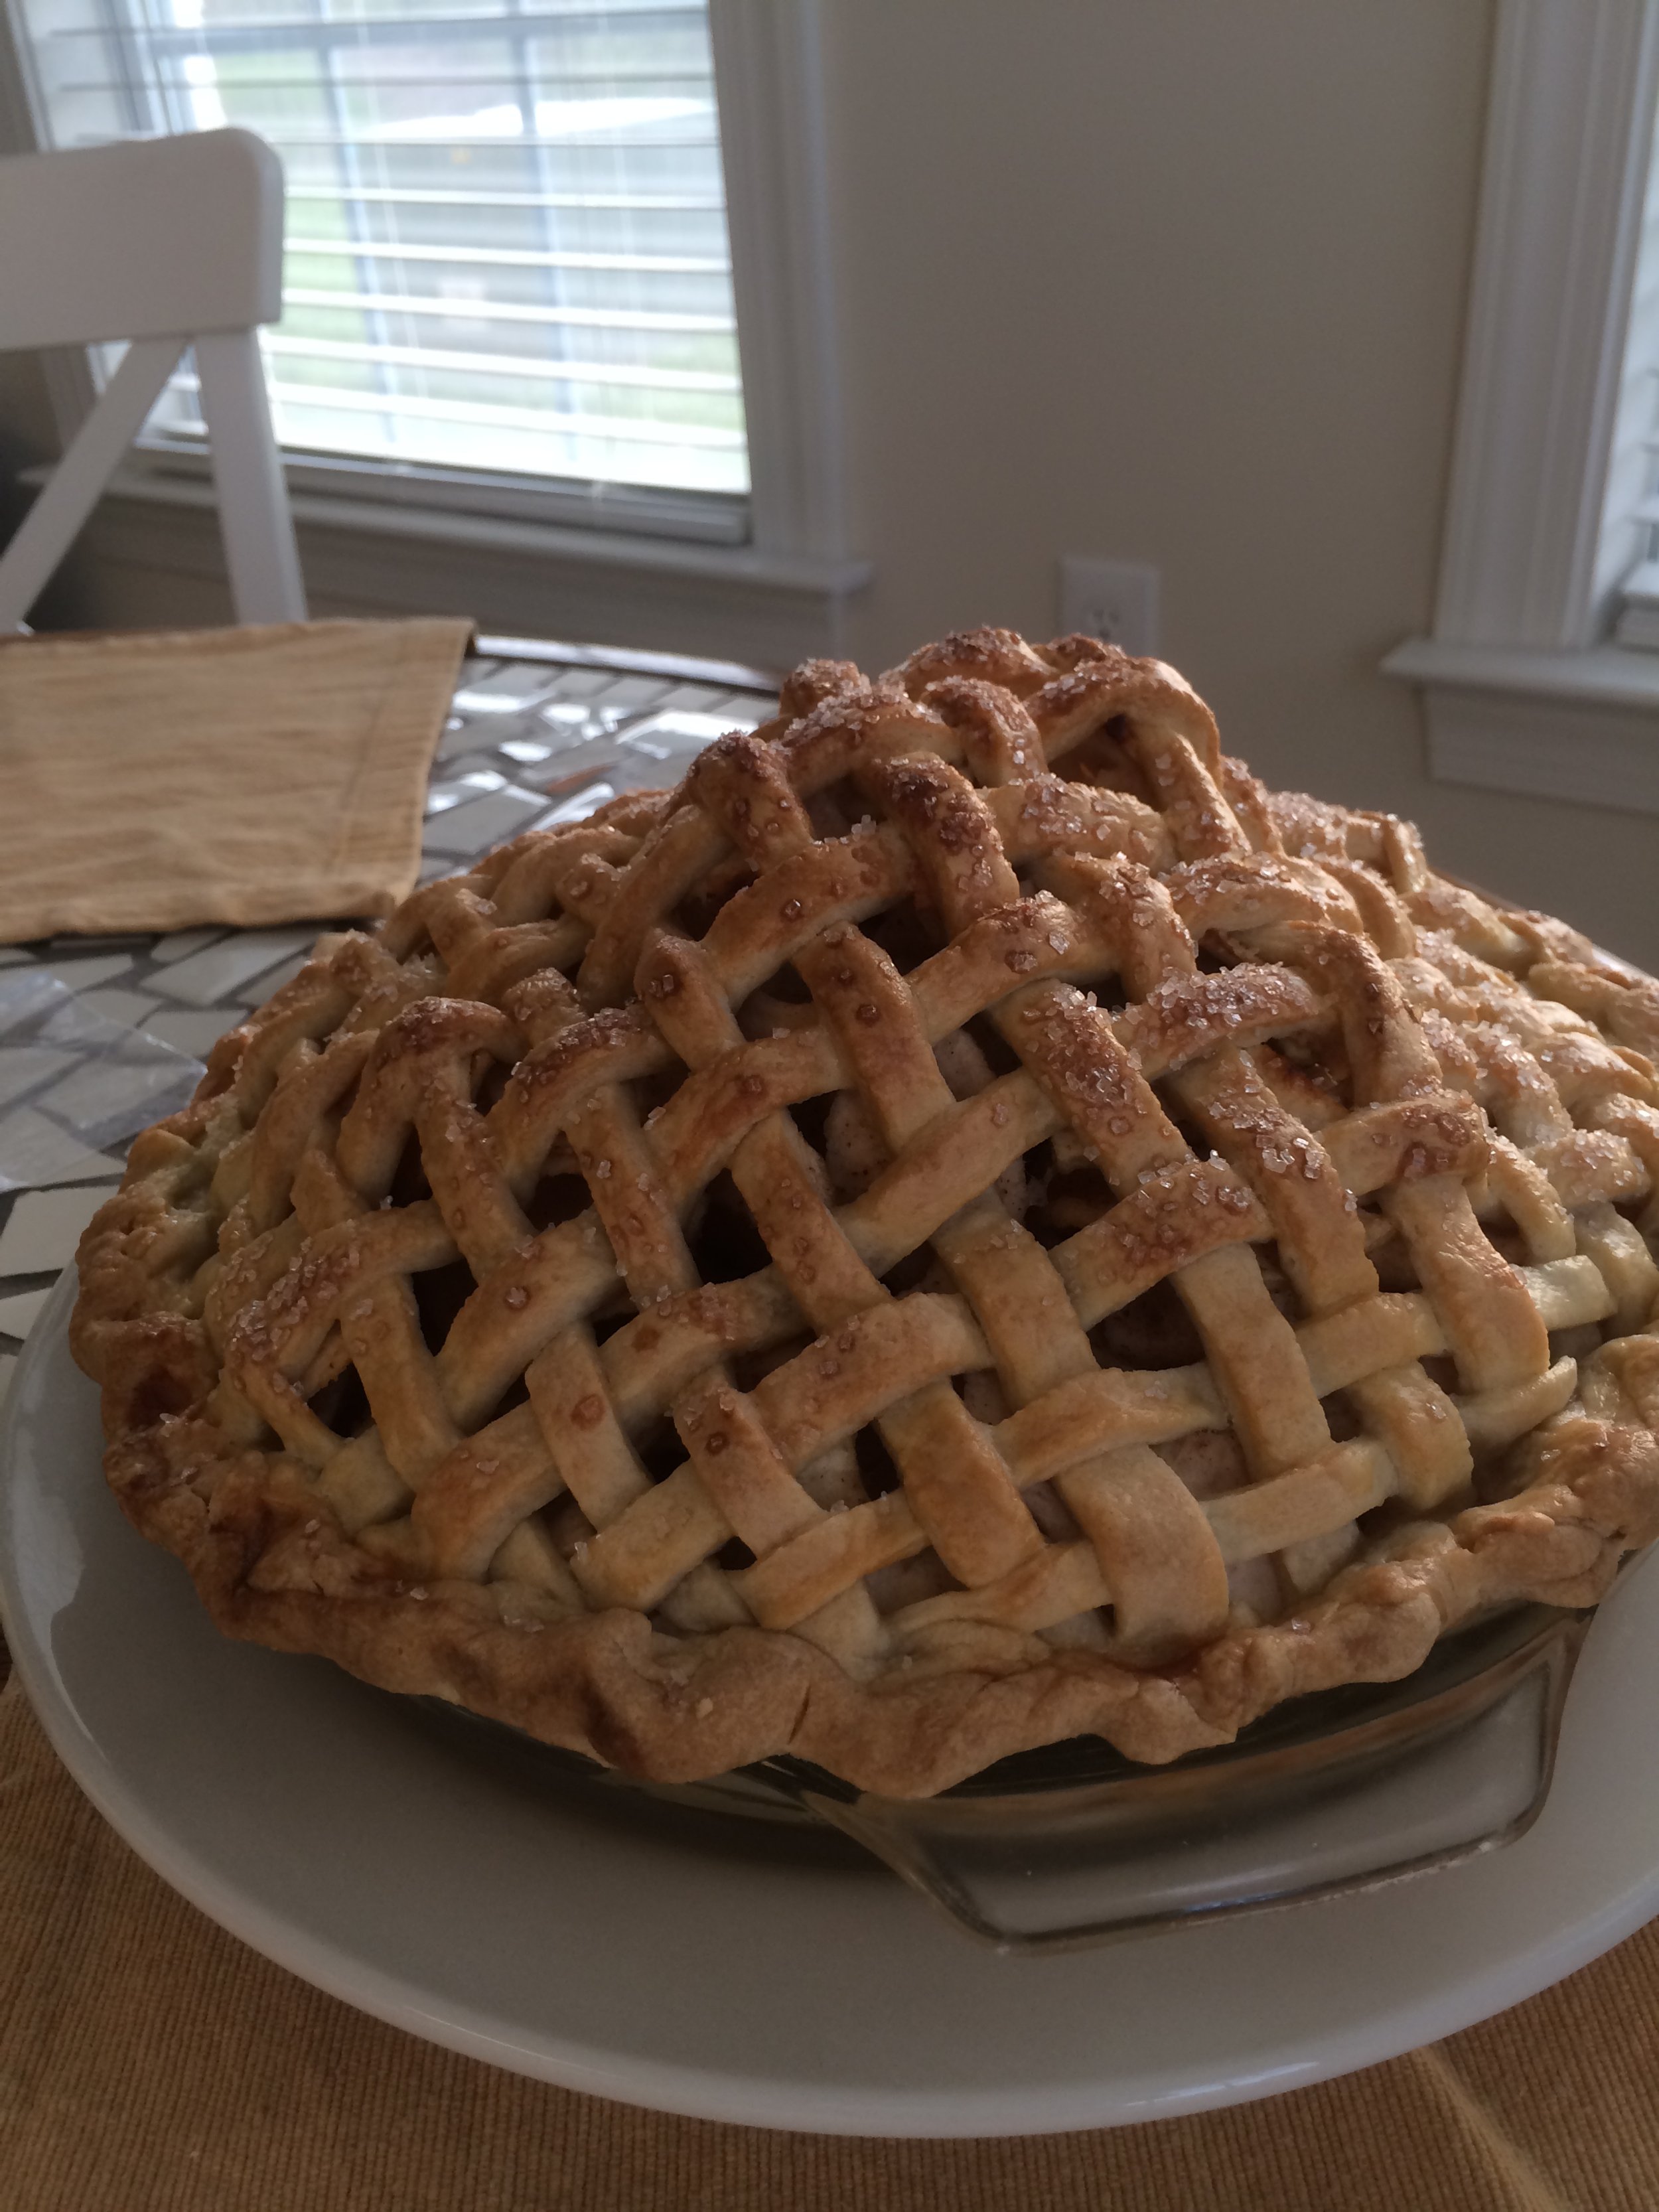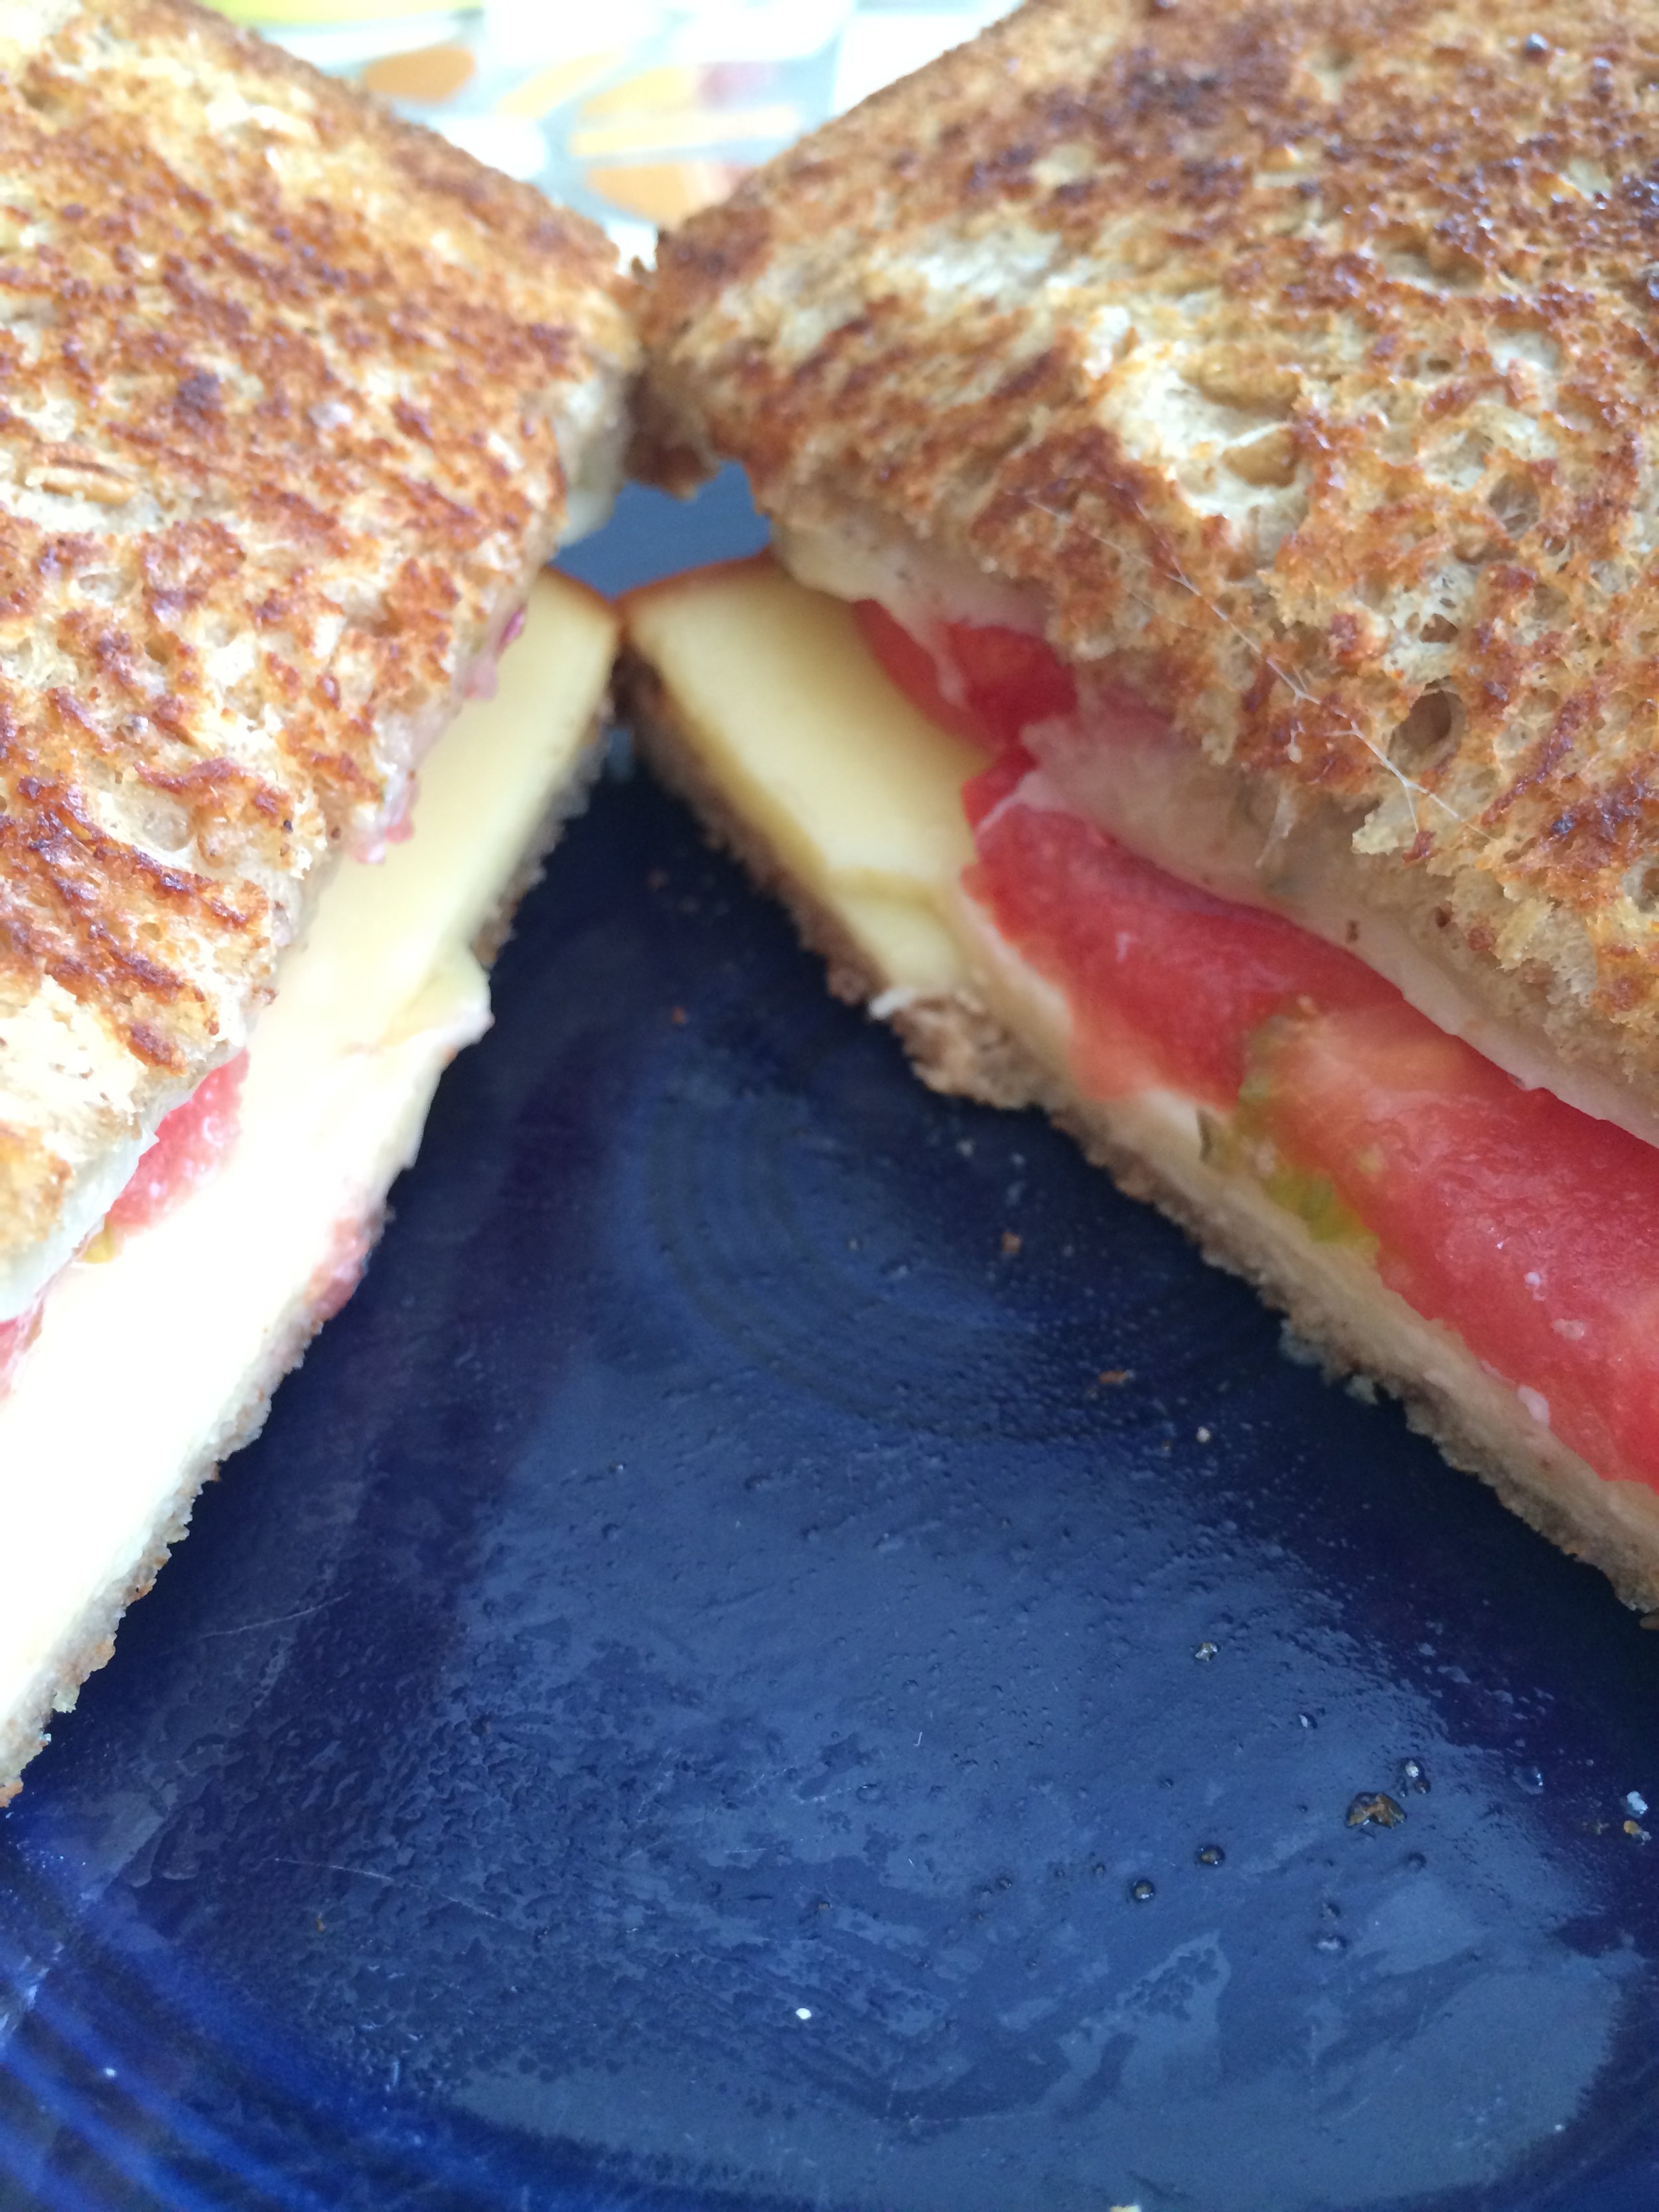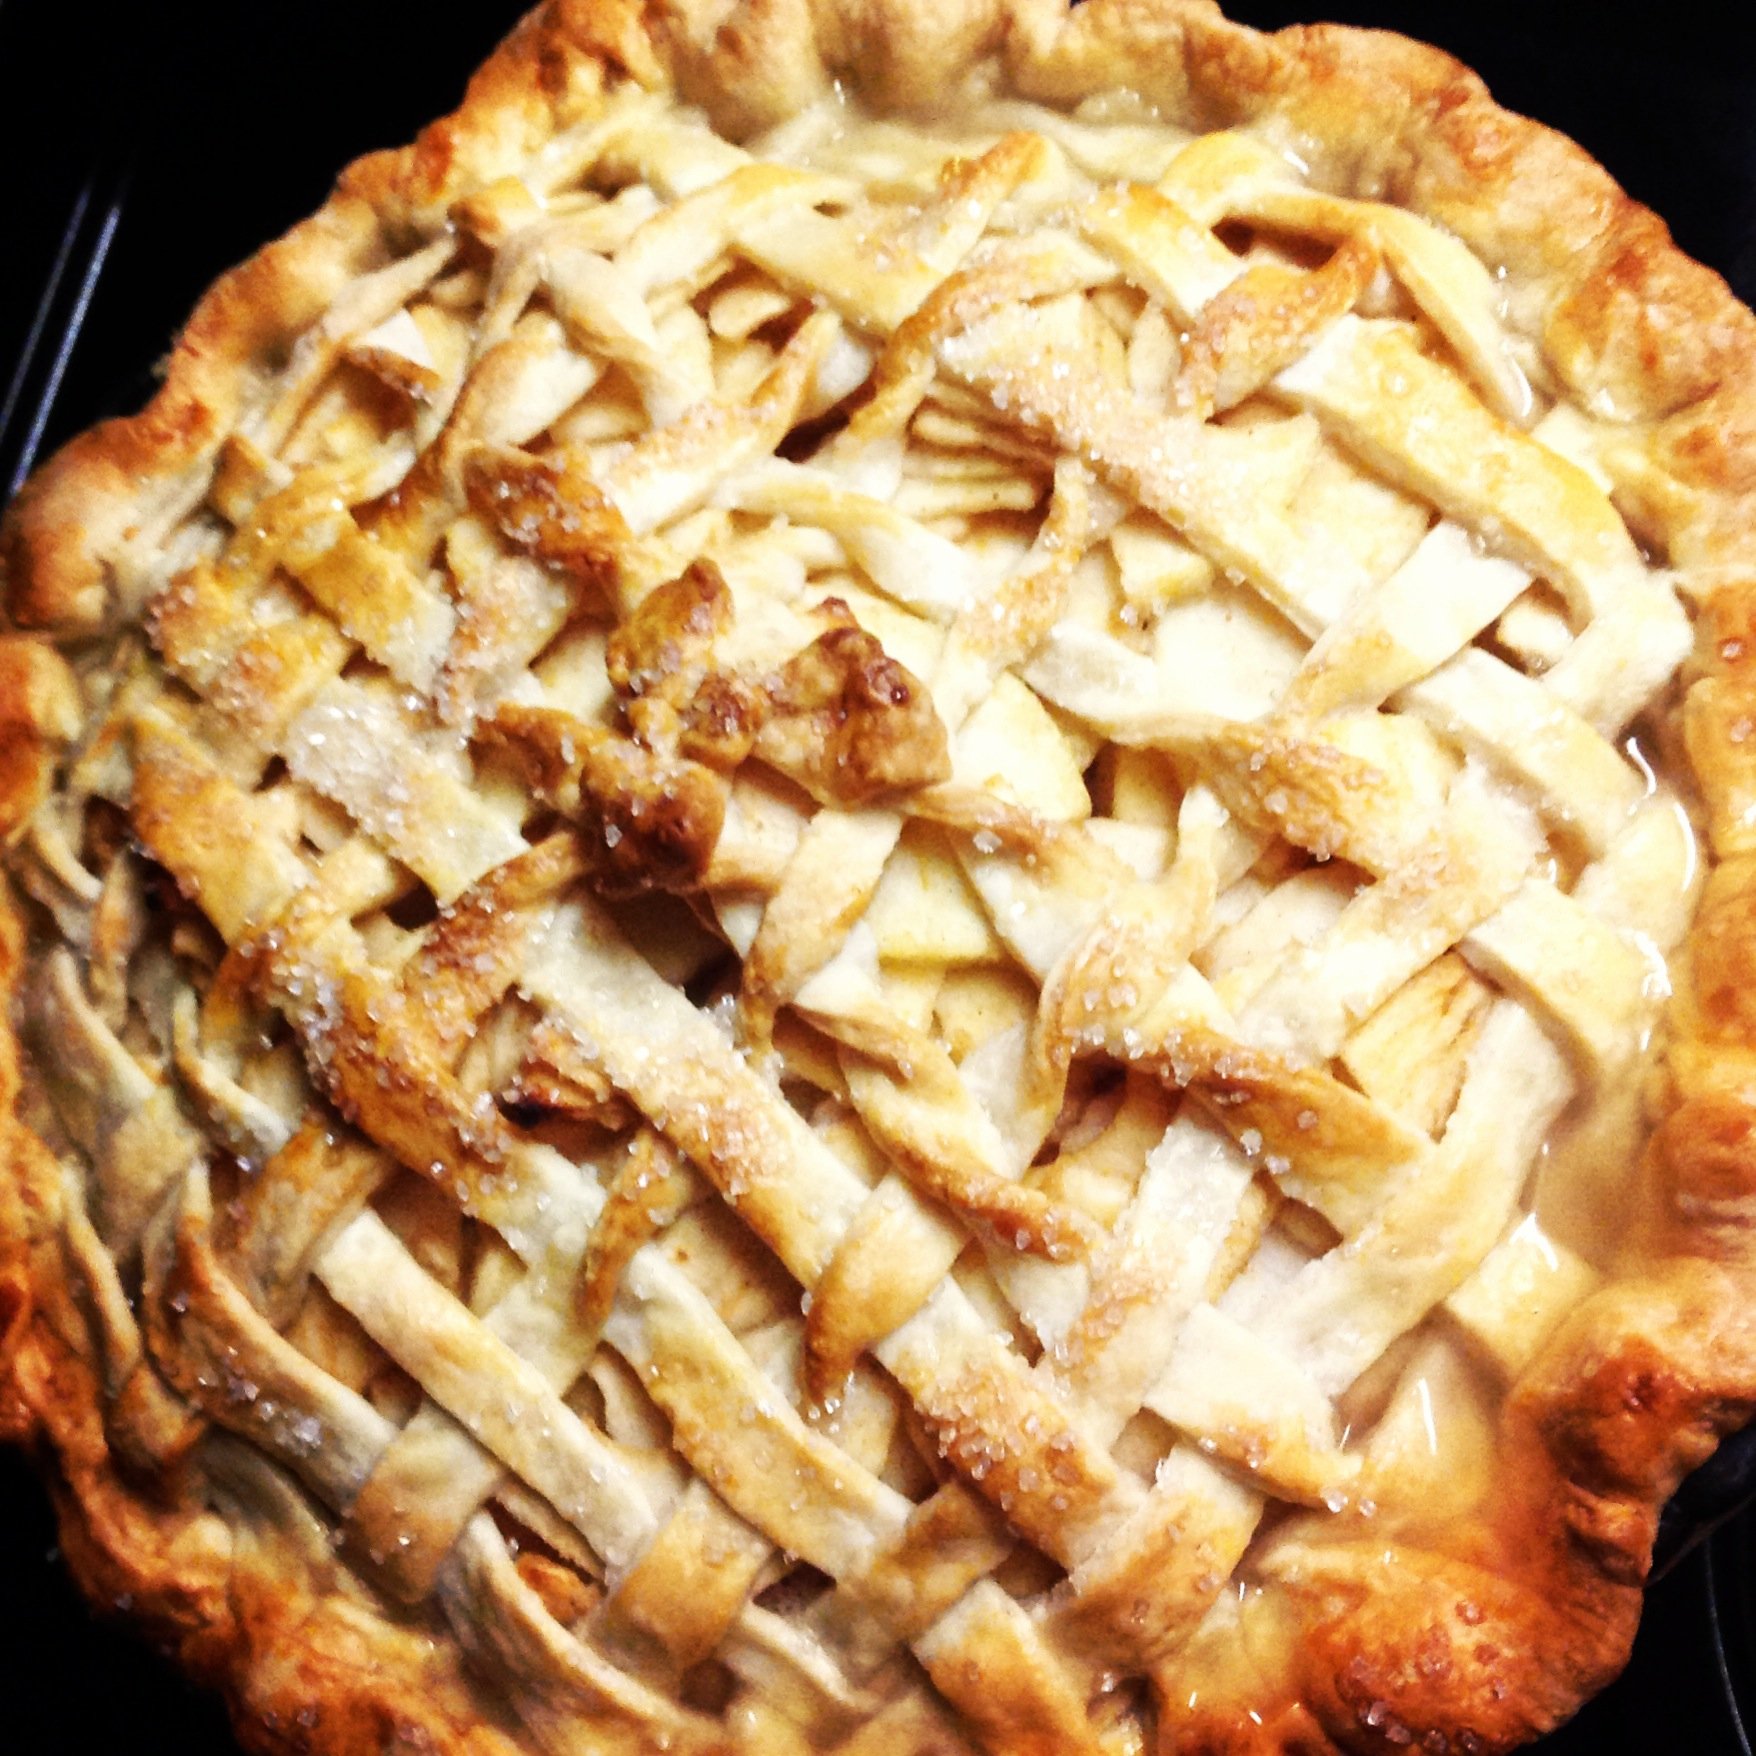

Sourdough

This is the recipe I am currently working with as of April 2025
I wanted to be a master bread baker when I was in my 20’s so I got a bread maker and a cookbook and that’s where I started. I was not too fond of the hole the kneading paddle left in the bottom of the loaf so I started taking out the dough and finishing it outside the bread maker. Then, I moved on to my Kitchen-Aid stand mixer. I started making Sourdough bread when I lived in Flagstaff Arizona. A friend gave me the Le Brea Bakery Cookbook as a gift. I made my first starter using organic grapes and some flour and water. It took some time but that starter lasted me many years and made so much yummy bread. I lost it when I moved back to NC and then started a new one in 2022 when my life finally settled in at 909 W Wendover.
In the world of artisanal bread making, sourdough holds a special place. Its rich history, complex flavors, and the sheer satisfaction of turning simple ingredients into a beautiful loaf make it a favorite among baking enthusiasts. For those looking to embark on this rewarding baking journey, combining the wisdom found in the [La Brea Bakery cookbook with the quality of Little Spoon Farm's website recommendations, and using organic unbleached flour from Costco alongside a vintage KitchenAid stand mixer, can create an unbeatable formula for perfection.
The Foundation: Choosing the Right Ingredients
The first step in your sourdough adventure is selecting the right ingredients. A standout choice is the organic unbleached flour available at Costco. This high-quality flour is not only economical but also offers the strength and consistency needed for the perfect sourdough loaf. The lack of bleach in the flour ensures that the natural flavors and yeasts are not hindered, providing a pure base for your bread.
The Guide: La Brea Bakery Cookbook
The La Brea Bakery Cookbook, penned by the renowned baker Nancy Silverton, offers a treasure trove of insights into the art of sourdough bread-making. This book is a bible for bakers aiming to master the delicate balance of flavor and texture that sourdough is known for. It provides detailed instructions on maintaining a healthy starter—the heart of all sourdough recipes—along with a variety of recipes designed to develop a baker’s skills from novice to advanced.
The Technique: Leveraging a Vintage KitchenAid Stand Mixer
While sourdough bread is often associated with hand kneading, incorporating a vintage KitchenAid stand mixer can add a touch of ease and nostalgia to the process. These mixers, known for their durability and effectiveness, are perfect for kneading dough to the right consistency without overworking it. The gentle power of the mixer’s dough hook perfectly mimics hand-kneading, ensuring the dough is smooth and retains the gases produced by the yeast, crucial for a light, airy loaf.
The Method: Tips from Little Spoon Farm
Little Spoon Farm’s website is a modern resource that aligns beautifully with traditional techniques, offering tips and tricks that are particularly useful for beginners. Their approach to sourdough includes maintaining a robust starter and managing fermentation times, which are critical for developing the bread’s flavor and texture. Their detailed guides and supportive community can help demystify the process, making sourdough baking accessible to everyone.
Bringing It All Together
To start, create your sourdough starter using the instructions from the La Brea Bakery cookbook, keeping in mind the temperature and feeding tips from Little Spoon Farm. Once your starter is active and bubbly, mix your ingredients using the organic unbleached flour from Costco. Incorporate the water and flour gradually into your starter in the bowl of your KitchenAid mixer, using the dough hook attachment on a low setting to bring the dough together before increasing the speed for a thorough kneading.
After the dough has doubled in size, shape it into loaves or boules, and let it undergo a final proof. This is when the magic happens, and your dough transforms into a beautifully risen loaf. Bake according to the La Brea Bakery cookbook’s precise temperature and time guidelines to achieve that desirable crispy crust and soft, chewy interior.
Sourdough baking is more than just a cooking process; it’s a form of art that harkens back to ancient traditions. By utilizing the expert advice from the La Brea Bakery cookbook, the high-quality ingredients like the organic unbleached flour from Costco, and the mechanical assistance of a vintage KitchenAid mixer, along with modern tips from Little Spoon Farm, you create not just bread, but a masterpiece that is both delicious and deeply satisfying. This blend of old and new elevates the humble act of bread baking into a culinary craft that brings joy with every bite.
This version should help readers quickly find and purchase the necessary items or learn more about the techniques discussed.
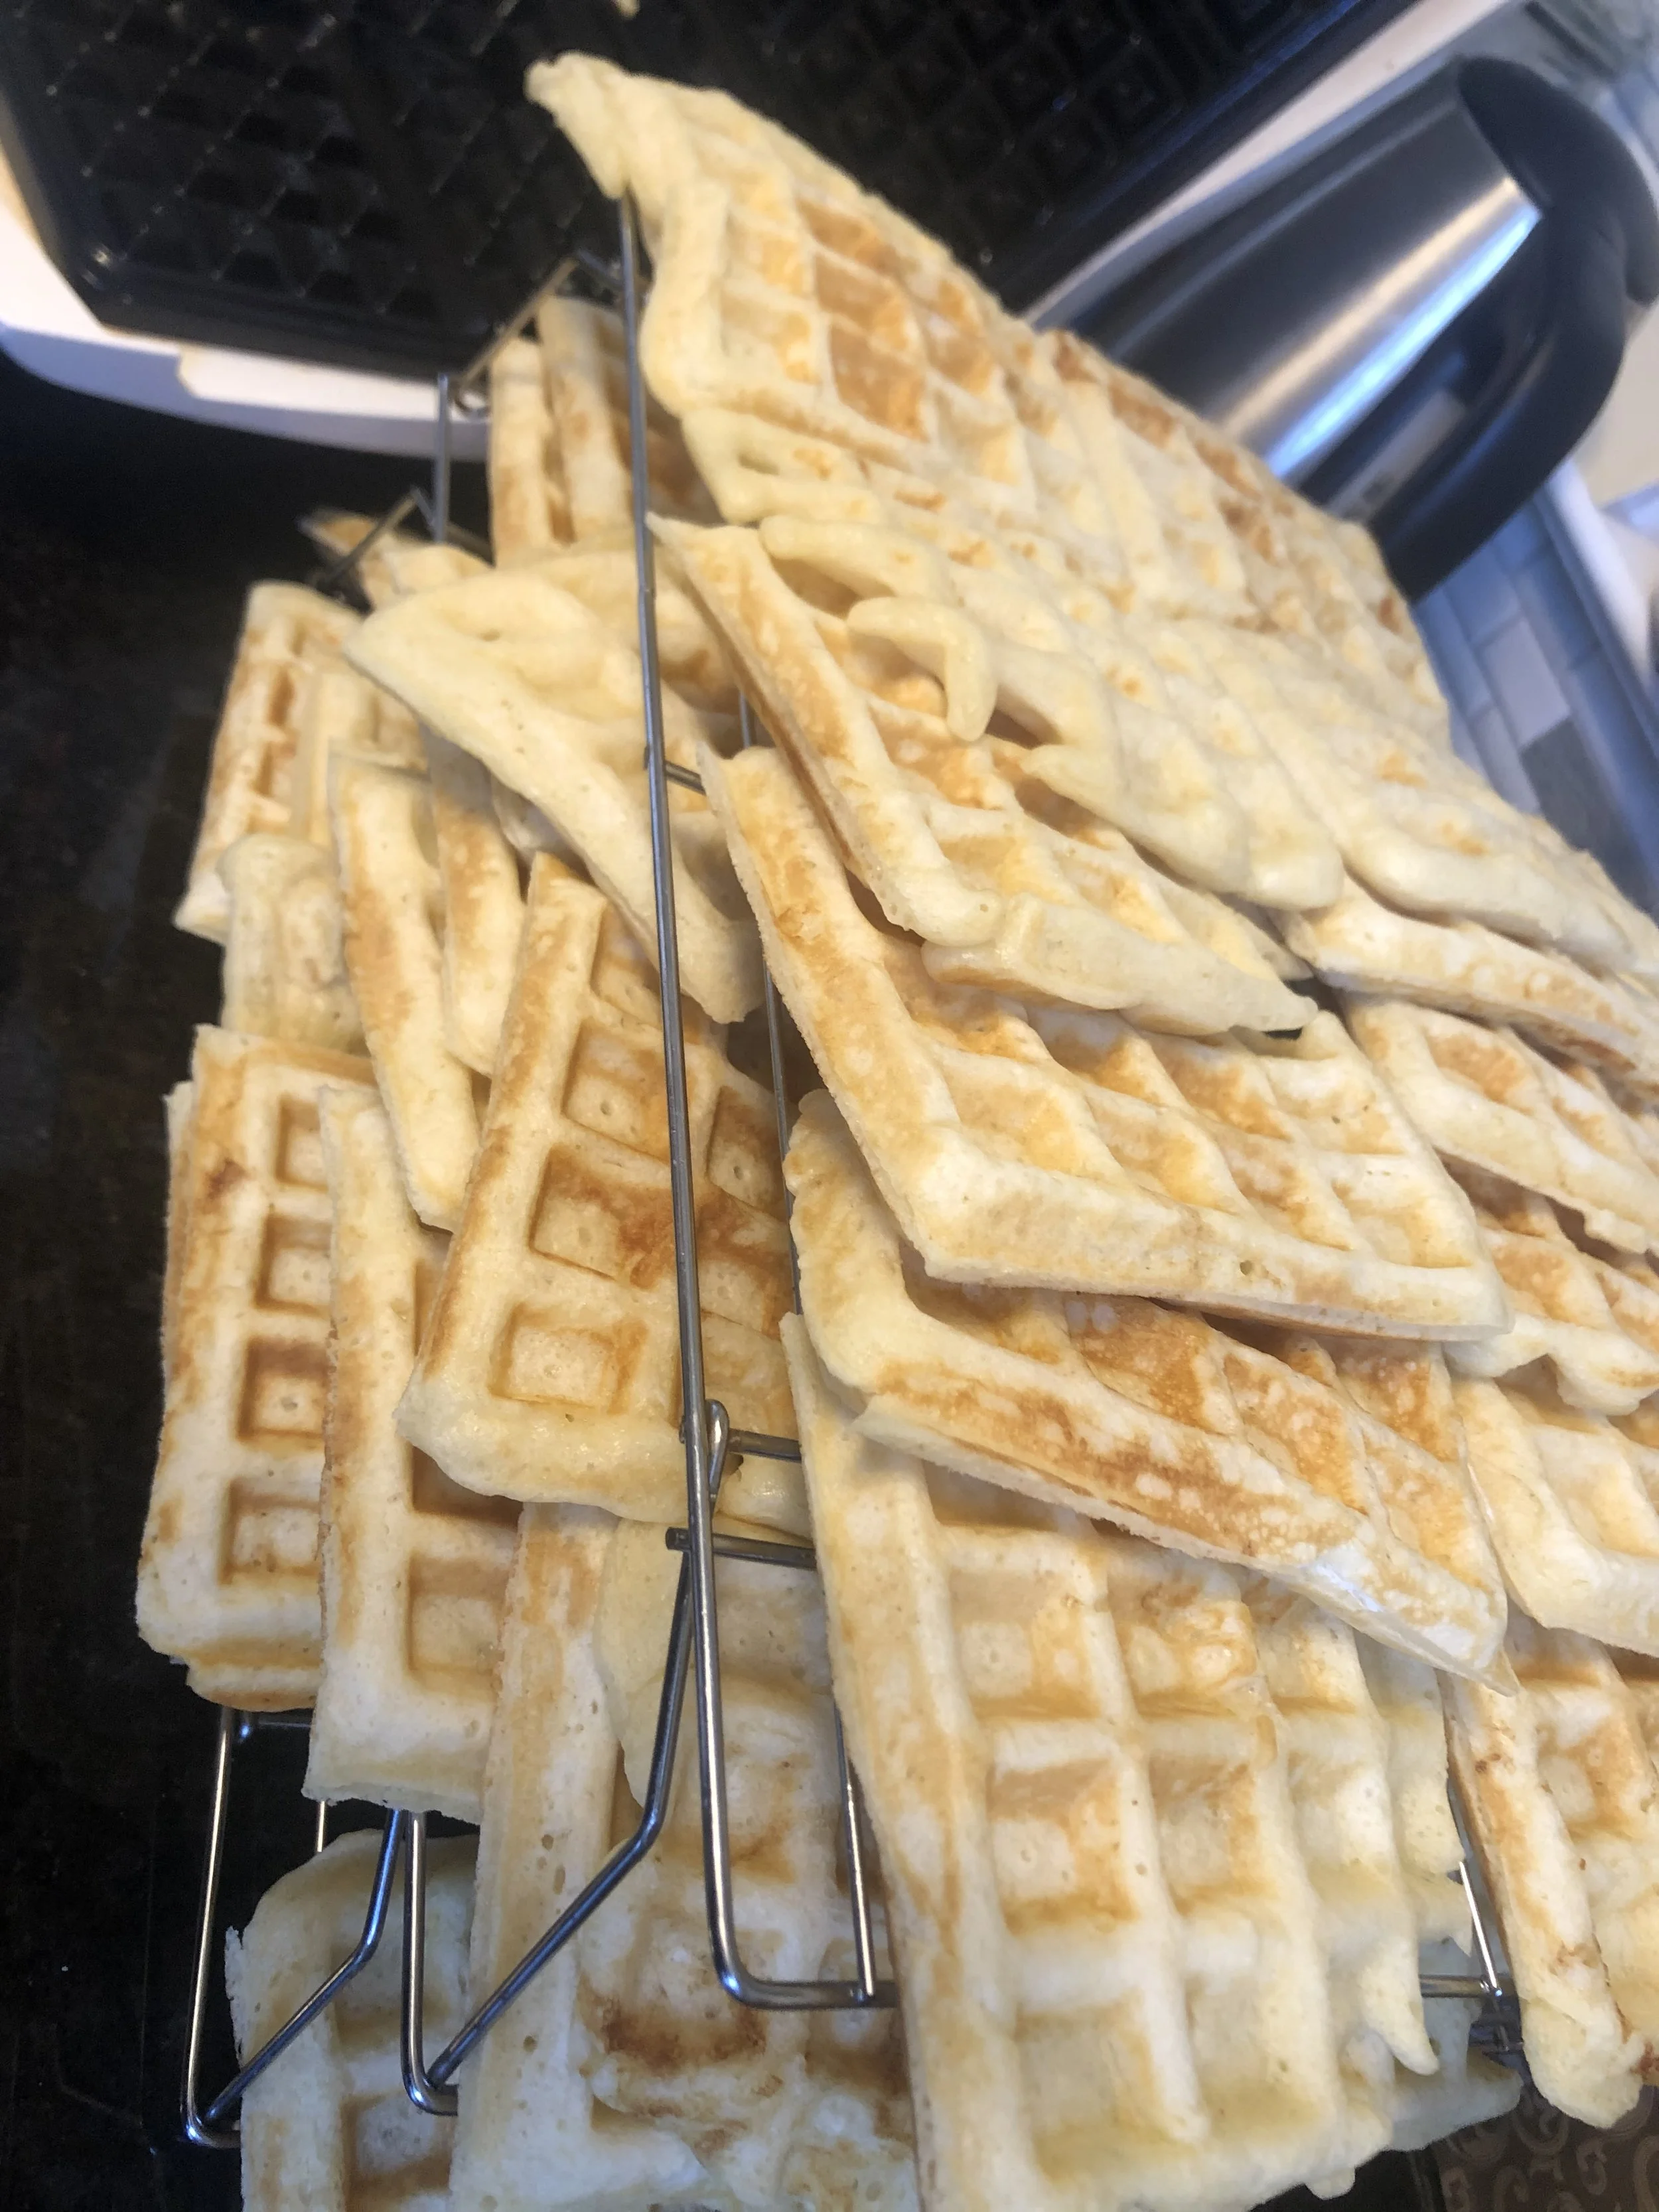
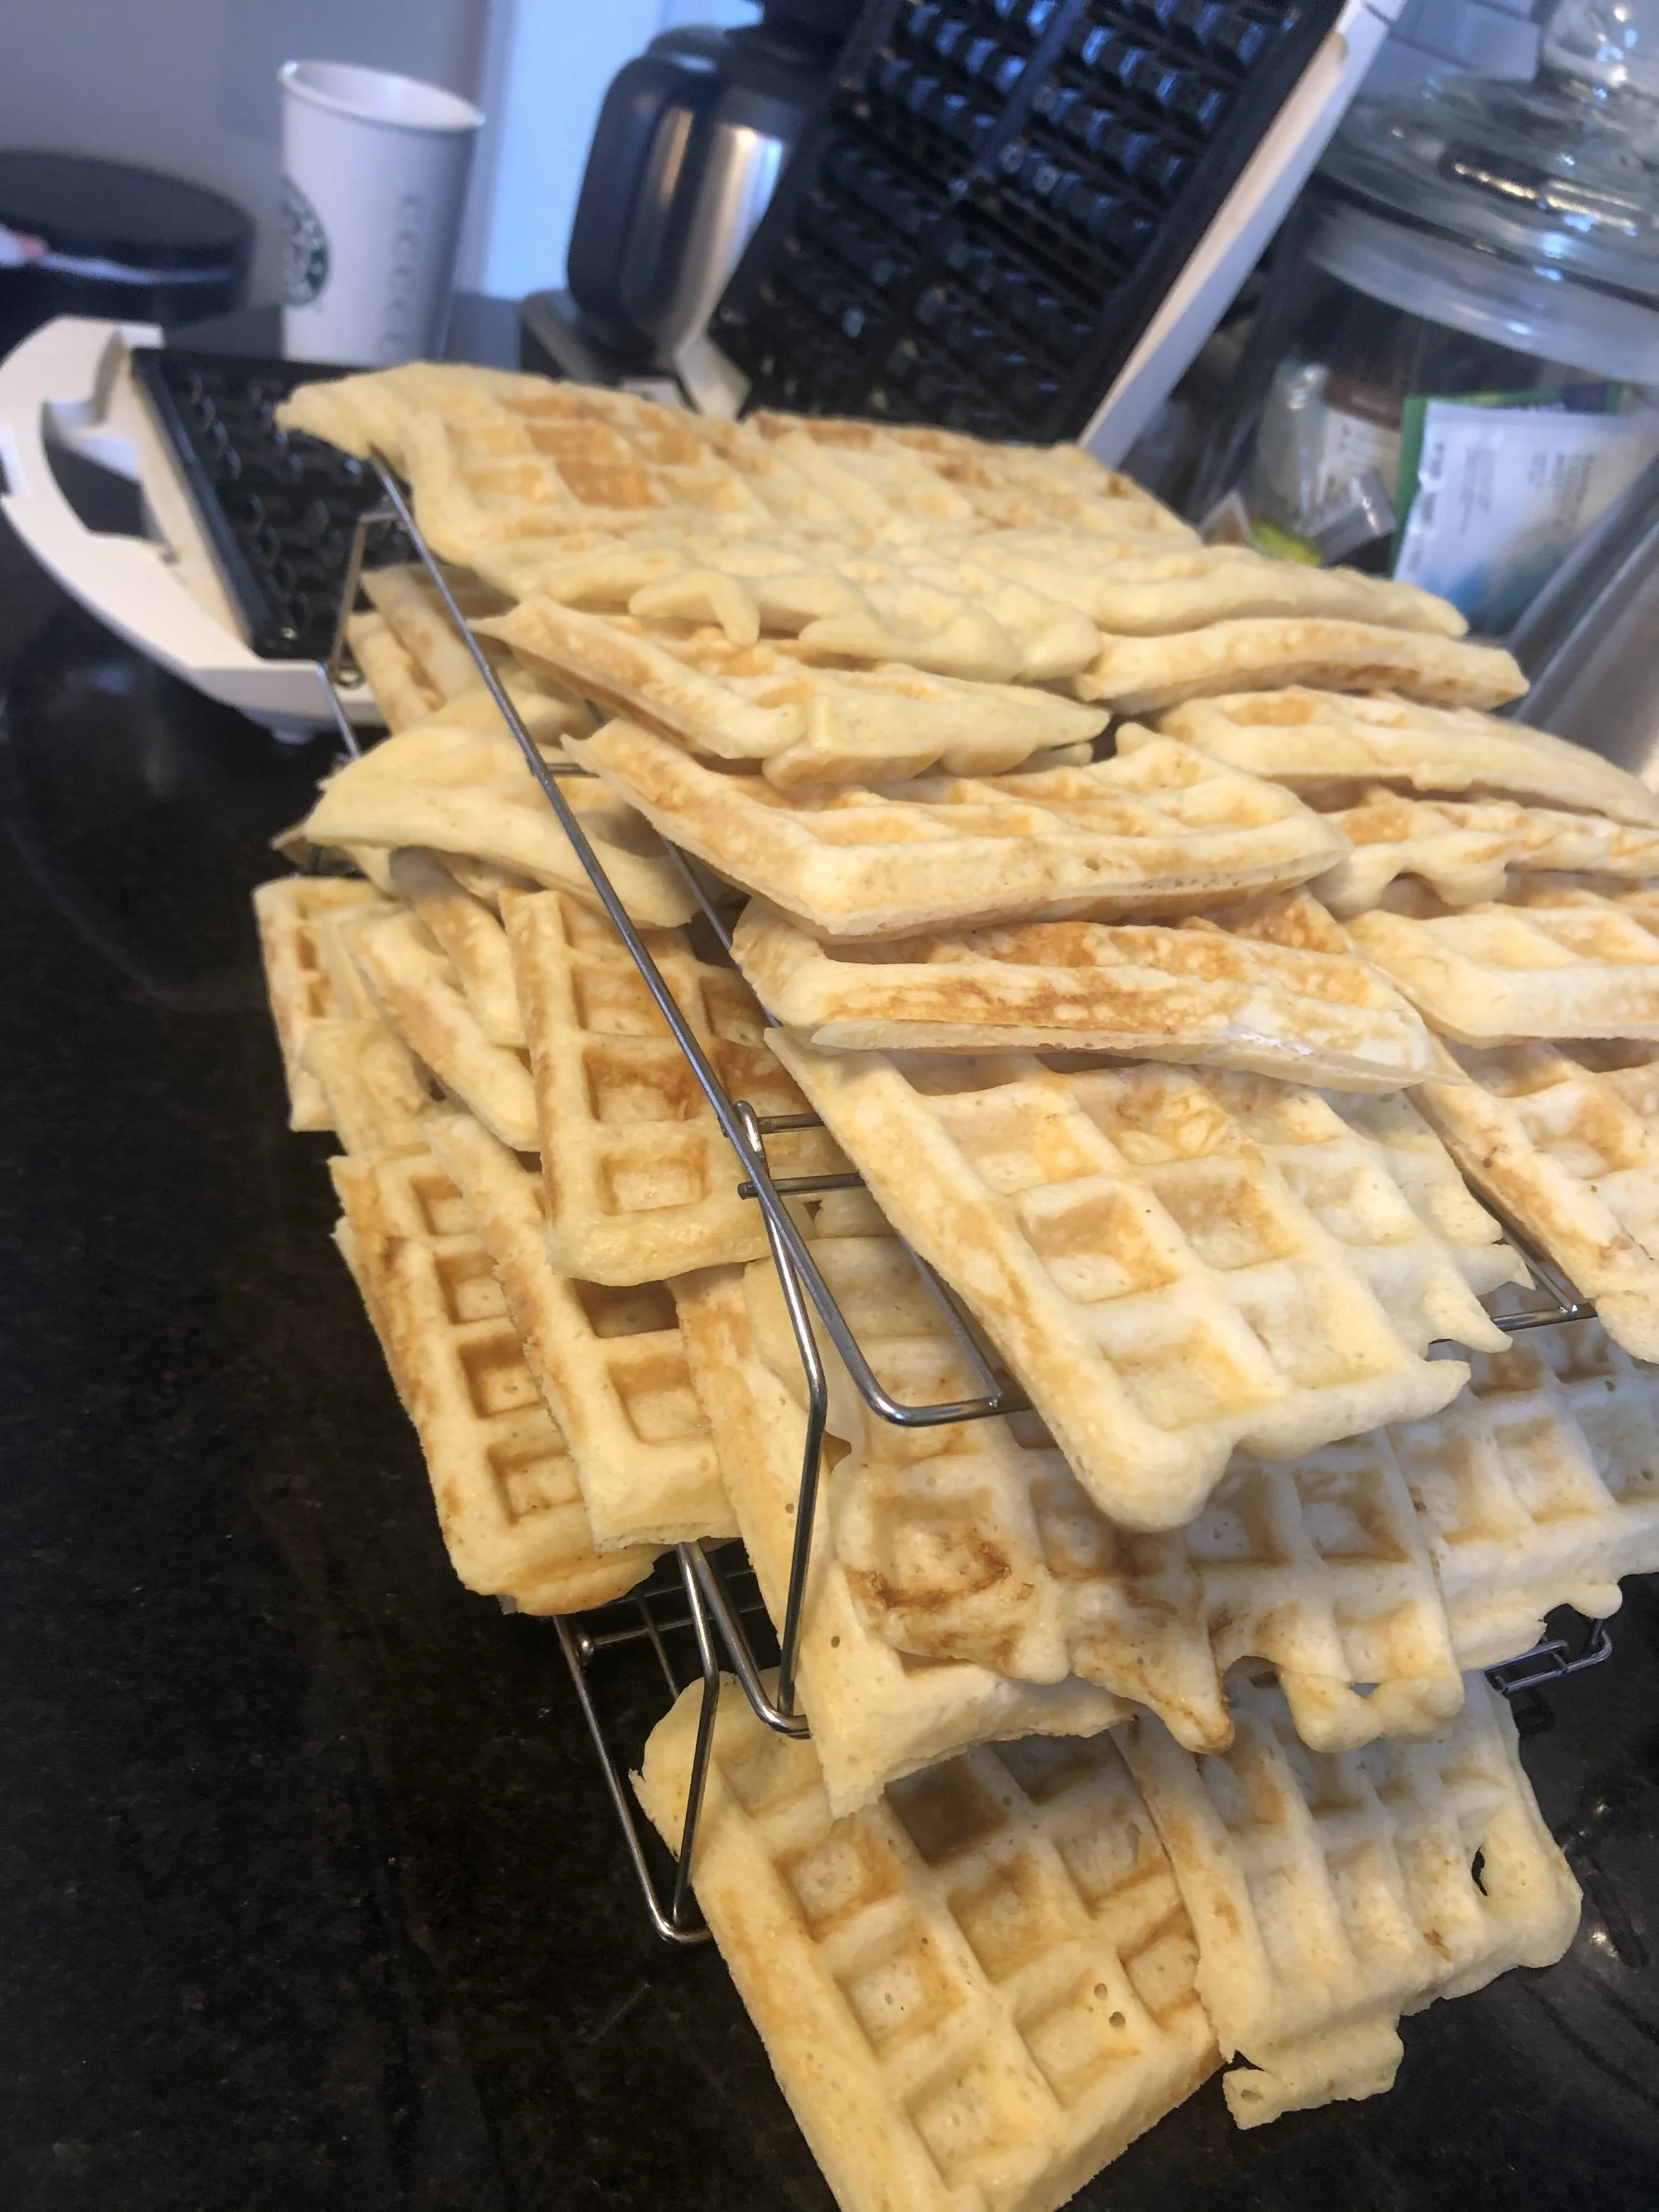
| Action | Time Before Use | Description |
|---|---|---|
| Feed starter | 12-24 hours before baking | If stored in the fridge, wake it up first. |
| Feed again | 6 hours before baking | Ensures full strength. |
| Peak activity | 4-6 hours after last feeding | Best time to mix into your waffle batter. |
| Mix into waffle batter | Night before | Let the batter ferment overnight. |
| Cook waffles | Next morning | Batter will be bubbly and ready. |
Nancy Silverton’s Sourdough Starter Recipe
This is how I made my first Sourdough starter when I lived in Flagstaff AZ and was also learning to bake at high altitude. (Uses wild yeast from grapes for fermentation)
Ingredients:
Bread flour – 2 cups (240g)
Non-chlorinated water – 2½ cups (600ml)
Organic, unwashed red or black grapes – ½ pound (about 225g, roughly 1 heaping cup of small grapes)
Equipment:
Cheesecloth
String or kitchen twine
Large glass or plastic container (at least 2-quart capacity)
Process Overview:
Day 1: Initial Mixture
Mix the Base
In a large container, combine 2 cups (240g) bread flour and 2½ cups (600ml) water. Stir until smooth.
Prepare the Grapes
Place the ½ pound (225g) of grapes inside a double layer of cheesecloth and tie it securely with string.
Lightly crush the grapes inside the bag with a rolling pin to release some juice.
Submerge & Ferment
Submerge the grape bag into the flour-water mixture, making sure it’s fully immersed.
Cover the container tightly with plastic wrap or a lid and let it sit at room temperature (70-75°F / 21-24°C).
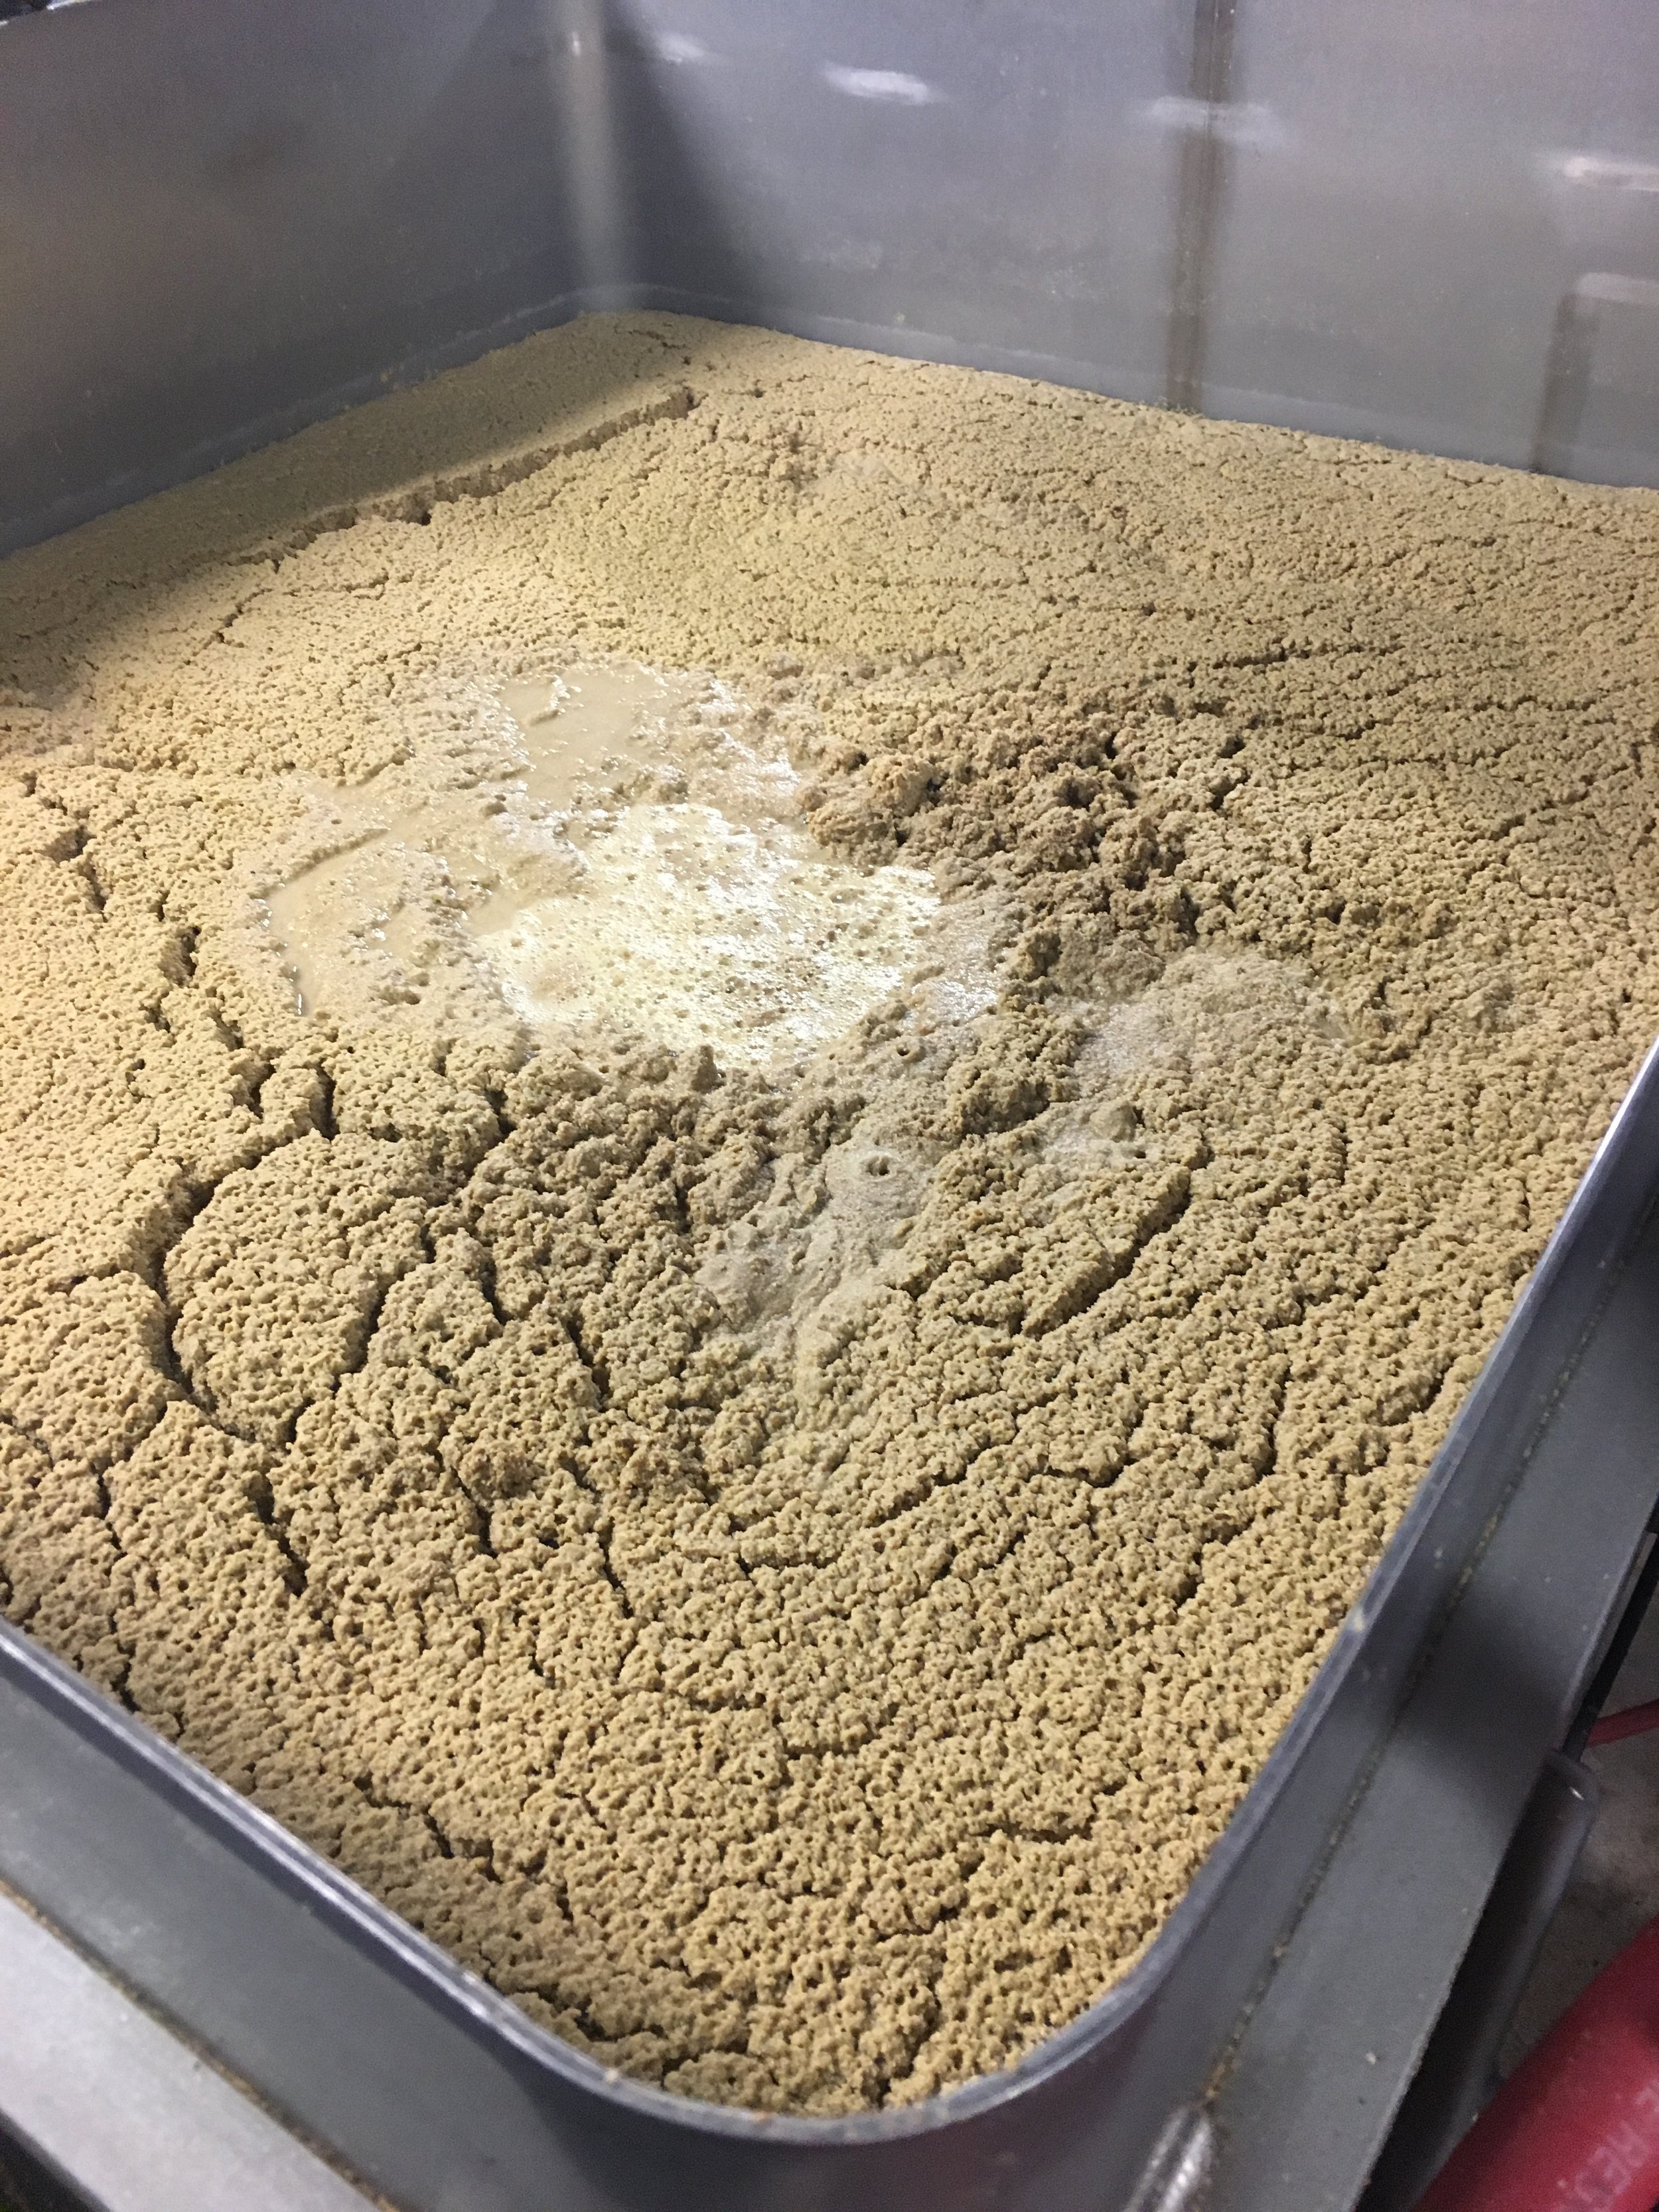
Stir once daily for six days. The mixture will begin to bubble, and the grapes may swell due to fermentation gases.
Day 6: Removing the Grapes
Remove the cheesecloth bag with grapes.
Squeeze the bag gently to extract the remaining juices into the starter mixture.
Stir the starter well to mix in the grape juice.
Days 7-9: Feeding the Starter
For the next three days, feed the starter daily using:
1 cup (120g) bread flour
1 cup (240ml) water
Feeding Instructions:
Add the flour and water to the starter and stir until fully combined.
Leave the starter uncovered at room temperature for 3-4 hours until it becomes bubbly and active.
Cover the container and refrigerate until the next feeding.
Ongoing Maintenance
After the first 9 days, the starter is established. Here’s how to maintain it:
Storage: Keep it refrigerated in a jar with a tight-fitting lid.
Regular Feeding: Once a week, discard half of the starter and feed it with:
½ cup (60g) bread flour
¼ cup (60ml) water
Before Baking: Feed the starter for 3 consecutive days before baking to ensure it's at peak activity.
How to Tell If Your Starter Is Ready to Use:
To ensure your starter is at peak fermentation, look for:
✔️ Doubled in volume within 4-6 hours after feeding.
✔️ Lots of bubbles on top and throughout the mixture.
✔️ Elastic, airy texture – it should feel light when stirred.
✔️ Mild tangy aroma – slightly fruity and yeasty (not overly sour or alcoholic).
💡 Best Time to Use: 4-6 hours after feeding (before it collapses).